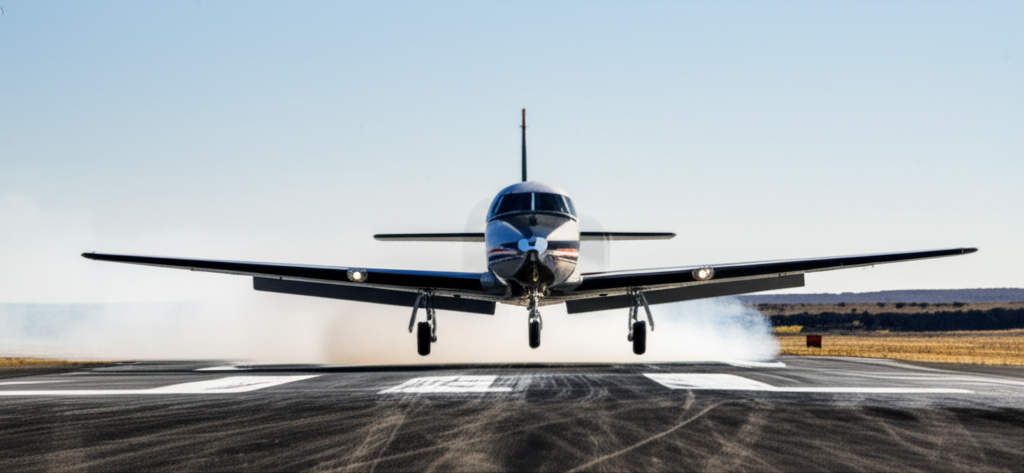
Short field operations test a pilot’s ability to extract maximum performance from the aircraft when runway length doesn’t allow margin for error. Understanding the techniques for maximum braking, obstacle clearance, and precise touchdown enables safe operations at airports that would otherwise be inaccessible.
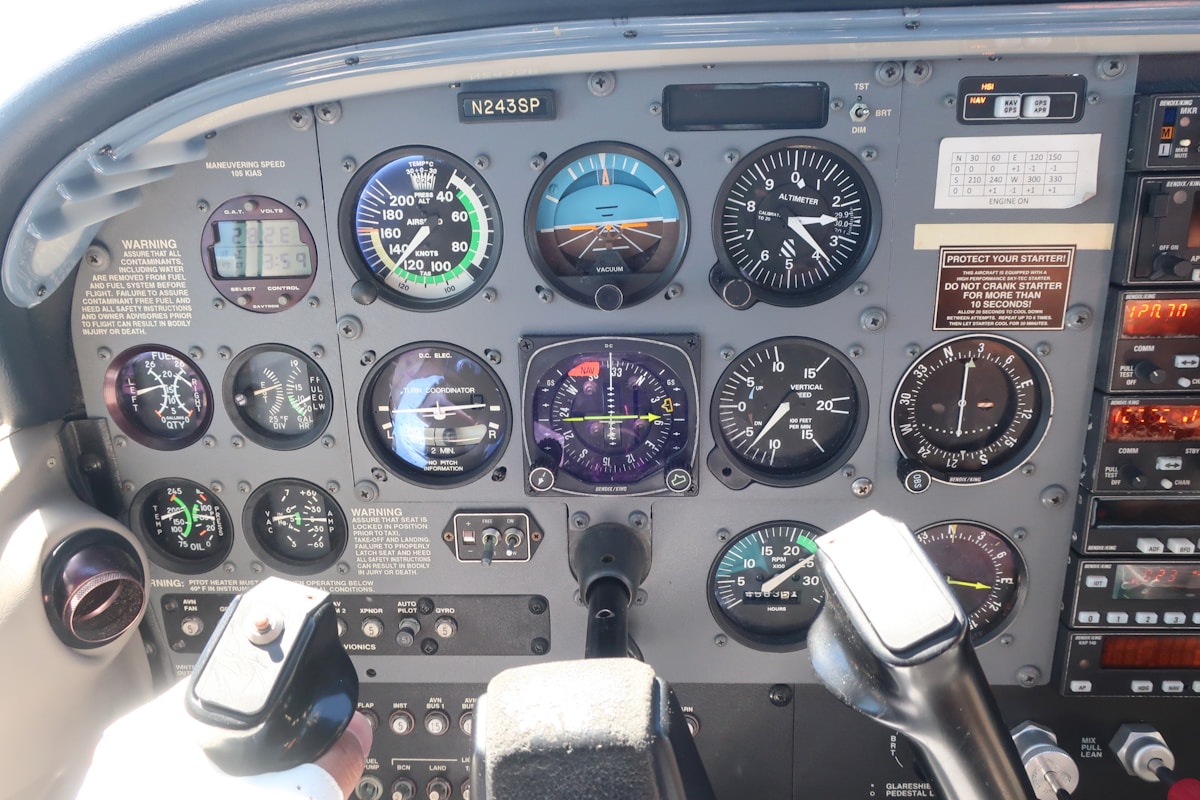
Understanding Short Field Performance
Every aircraft has published performance for short field operations, found in Section 5 of the POH. These numbers—takeoff distance, landing distance, ground roll—assume specific conditions and techniques. Achieving published performance requires duplicating those conditions and techniques precisely.
Performance Factors
Density altitude affects performance dramatically. High altitude, high temperature, and high humidity all reduce engine power and wing efficiency. A runway that’s easily adequate at sea level on a cold morning may be too short at the same location on a hot afternoon.
Weight matters equally. Performance charts assume maximum gross weight; lighter aircraft perform better. When operating into short fields, consider whether reducing fuel or cargo improves safety margins enough to justify the limitations.
Surface Considerations
Published performance typically assumes hard, dry, paved runways. Soft surfaces, wet pavement, grass, or gravel all increase ground roll. Apply appropriate factors for surface conditions—or avoid operations if conditions exceed aircraft limitations.
Short Field Takeoff Technique
The short field takeoff maximizes acceleration while clearing obstacles beyond the runway end.
Positioning
Use every inch of available runway. Taxi to the very end, turning around to align with the centerline. If the runway has displaced threshold or unusable surface at your end, that unusable portion doesn’t count—you still need full available runway.
Pre-Takeoff Check
Complete the before-takeoff checklist with particular attention to flap setting (typically 10 degrees or as specified in POH), mixture properly set for the altitude, and engine parameters indicating full available power.
Brake Application
Hold brakes firmly while advancing to full power. This allows the engine to develop maximum thrust before the aircraft begins moving. Monitor engine instruments—if power isn’t developing normally, reject the takeoff.
Brake Release and Acceleration
Release brakes smoothly but completely. The aircraft should accelerate rapidly with full power. Maintain directional control with rudder, keeping the nosewheel light but on the ground until rotation speed.
Rotation
At VR (rotation speed, often VX), firmly but smoothly rotate to a pitch attitude that produces VX (best angle of climb speed). Don’t over-rotate—excessively nose-high attitude induces drag and may actually reduce climb gradient.
Initial Climb
Maintain VX until obstacles are cleared. This speed provides the steepest climb angle—the maximum altitude gain per foot of ground distance. It doesn’t provide maximum rate of climb (VY), but it does clear obstacles most efficiently.
Once obstacles are cleared, accelerate to VY for continued climb. Retract flaps as appropriate for speed and conditions.
Short Field Landing Technique
The short field landing places the aircraft on the runway at minimum speed and stops in minimum distance.
Approach Planning
Plan the approach to clear obstacles (typically 50 feet) while arriving over the threshold at the minimum safe speed. This often means a steeper approach than normal, requiring precise power and pitch control.
Configuration
Full flaps provide maximum drag and minimum landing speed. Configure early—you want a stabilized approach with all changes complete well before landing.
Airspeed Control
Fly the approach at 1.3 VSO (stall speed in landing configuration) or the POH-specified approach speed. This provides minimum touchdown speed while maintaining adequate margin above stall. In gusty conditions, add half the gust factor to approach speed.
Power Management
The steeper approach typical of short field landings requires more power than a standard approach. Don’t hesitate to use power throughout the approach—you’re not trying to glide to the runway but to fly a precise approach path.
Aim Point
Aim for a touchdown point 100-200 feet past the threshold. The actual touchdown will occur slightly beyond your aim point. Landing on the numbers wastes usable runway; landing too deep wastes even more.
Flare and Touchdown
Begin the flare at normal height but reduce power smoothly to idle. Touch down on the main wheels at minimum speed. The touchdown should feel firm—you’re not trying to grease the landing but to stop promptly.
Maximum Braking Technique
After touchdown, maximum braking stops the aircraft in minimum distance. This requires technique, not just stomping on the brakes.
Aero Braking
Immediately after touchdown, hold the nose up momentarily. The elevated nose increases drag and transfers weight to the main wheels, improving brake effectiveness. Don’t hold the nose up so long that you lose wheel braking time.
Nose Lowering
Lower the nose firmly to the ground once speed has decreased enough that the nose wheel can handle the contact. This adds nose wheel braking (in some aircraft) and ensures the aircraft is firmly on the ground.
Brake Application
Apply maximum braking without locking the wheels. Locked wheels actually increase stopping distance and can damage tires. The goal is maximum braking pressure while the wheels continue rotating.
In aircraft without anti-skid systems, this requires feel. Apply brakes firmly and feel for the point just before skid. If wheels begin to skid, release slightly and reapply. This “cadence braking” maintains maximum deceleration.
Flaps
Keep flaps extended during rollout. Retraction increases wing lift, which reduces weight on the wheels and braking effectiveness. Wait until clear of the runway to retract flaps.
Obstacle Clearance
Both takeoff and landing may involve obstacles that must be cleared at specific heights.
Takeoff Obstacles
POH performance charts show takeoff distance to clear a 50-foot obstacle. This assumes proper technique and the specified conditions. If obstacles are higher than 50 feet, add appropriate margin. If the chart shows you’ll just barely clear, conditions aren’t appropriate for the takeoff.
Landing Obstacles
Landing over obstacles requires a steeper approach that still provides safe margin above the obstacle. Typically, crossing the obstacle at 50 feet requires a 3-4 degree approach path. Steeper approaches are possible but increase workload and the consequences of errors.
Go-Around Considerations
Go-arounds from short field approaches present special challenges. The aircraft is slow and configured for maximum drag. Transitioning to climb requires prompt power addition and appropriate configuration changes.
Make go-around decisions early. If the approach isn’t stabilized or the runway isn’t appearing where expected, go around while you still have altitude and options. A go-around initiated at 200 feet gives more options than one initiated at 20 feet.
Practice and Proficiency
Short field proficiency requires regular practice. The techniques feel different from normal operations and must be rehearsed to remain sharp. Practice at your home airport, imagining obstacles and shorter runway lengths. Maintain the precision that short field operations demand even when the runway provides ample margin.
Short field capability expands your flying options significantly. Destinations with shorter runways become accessible. Emergency landing options increase. The precision developed improves all your landings. Master short field technique, and you’ll be prepared when the runway doesn’t allow room for error.
