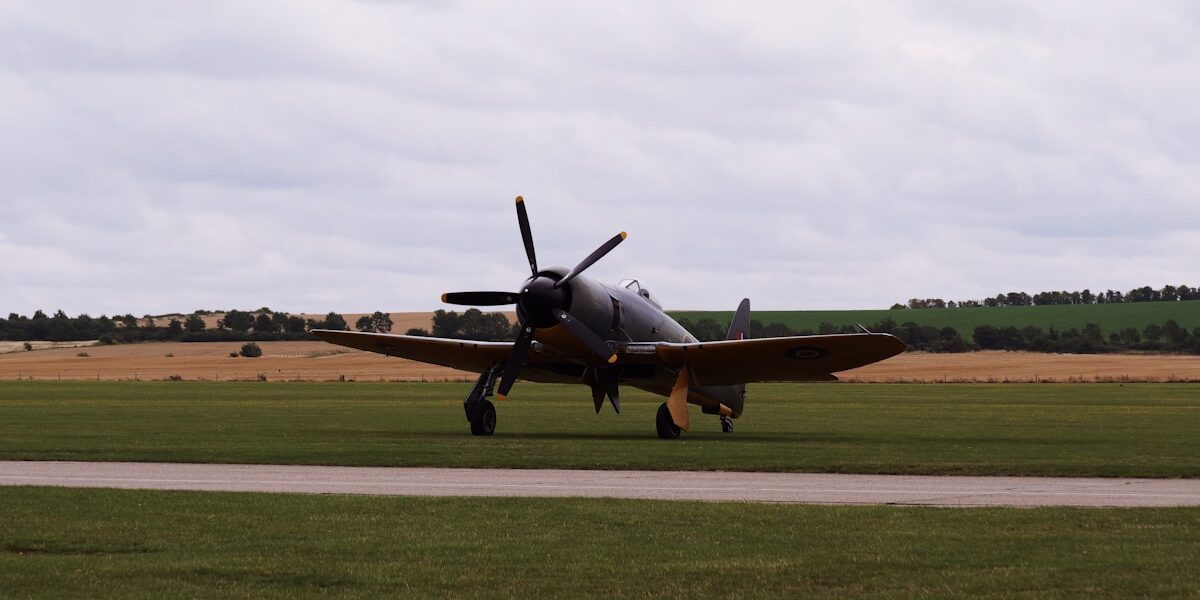
Your first solo cross-country flight marks a pivotal moment in your training—the culmination of everything you’ve learned applied to a real-world flight that takes you beyond the familiar practice area and home airport. This comprehensive guide walks you through every aspect of planning, executing, and successfully completing this milestone flight.

Understanding the Requirements
Before diving into flight planning, understand what the FAA requires for your first solo cross-country. Under 14 CFR 61.93, you must fly a minimum of 150 nautical miles total distance, with landings at a minimum of three points, and at least one leg of 50 nautical miles between takeoff and landing locations.
Your instructor must provide specific endorsements for this flight, including an endorsement for the specific route of flight and verification that you’ve received training in cross-country flight procedures. These endorsements go in your logbook and must be current for the flight you’re conducting.
Route Selection
Your instructor will likely help you select an appropriate route, but understanding the selection criteria helps you make better decisions throughout your flying career.
Airport Selection
Choose airports that match your skill level. For a first solo cross-country, look for airports with:
- Runways long enough for comfortable operations—at least 3,000 feet for most trainers
- No complex airspace requirements like Class B or C, unless you’re specifically trained and endorsed
- Services available (fuel, restrooms, maybe food) since you’ll be stopping
- Weather reporting capability (AWOS, ASOS, or ATIS)
- Relatively light traffic for your experience level
Many instructors choose airports where they have contacts or where you’ve flown during training. Familiar destinations reduce workload on a day already full of new challenges.
Route Planning Considerations
Plan routes that avoid unnecessary complexity. Consider terrain, airspace, and emergency landing options throughout the flight. A direct route might not be the best route if it takes you over inhospitable terrain or through congested airspace.
For your first solo cross-country, conservative choices are the right choices. There’s plenty of time for more challenging routes once you’ve built experience.
Weather Planning
Weather kills pilots more often than any other factor, making thorough weather analysis essential for every cross-country flight. Start checking weather several days before your planned flight to understand the developing pattern.
Obtaining Weather Briefings
Get a standard weather briefing for your route from 1800wxbrief.com, Leidos Flight Service, or approved commercial providers. The briefing should include:
- Current conditions at departure, en route, and destination
- Forecast conditions for your entire flight window
- NOTAMS affecting your route and airports
- TFRs (Temporary Flight Restrictions) in your area
- Pilot reports along the route
- Synopsis of the overall weather pattern
Personal Minimums
Establish personal weather minimums higher than the legal VFR requirements, especially for your first solo cross-country. Consider requiring:
- Ceilings at least 3,000 feet AGL (not the legal 1,000 feet)
- Visibility at least 5 miles (not the legal 3 miles)
- No convective activity forecast within 50 miles of your route
- Winds at or below your demonstrated crosswind capability
- No frontal passages expected during your flight
These conservative limits provide margin for error and reduce the chance of encountering conditions that exceed your experience level.
Navigation Planning
Even with GPS, plan your flight using pilotage and dead reckoning skills. Your instructor may require this as part of your training, and these skills save lives when electronic navigation fails.
Chart Preparation
Mark your route on a sectional chart. Identify prominent landmarks at regular intervals—water towers, highways, railroad tracks, distinctive terrain features. These checkpoints help you verify your position throughout the flight.
Note frequencies you’ll need: departure airport, en route FSS or flight following, destination airport. Write these on your kneeboard or nav log where they’re easily accessible.
Navigation Log
Complete a navigation log with:
- Checkpoints with identifiable features
- Magnetic courses between checkpoints
- Distances between checkpoints
- Estimated time en route for each leg
- Cumulative time and fuel calculations
- Altitude for each leg
This log serves as your primary navigation reference and provides structure for the flight. Practice completing navigation logs during training flights before your solo cross-country.
GPS Use
If equipped, GPS provides backup navigation and moving map awareness. But don’t rely on it exclusively—demonstrate pilotage skills by identifying visual checkpoints even when GPS is working perfectly. This builds the cross-checking habit that catches errors before they become emergencies.
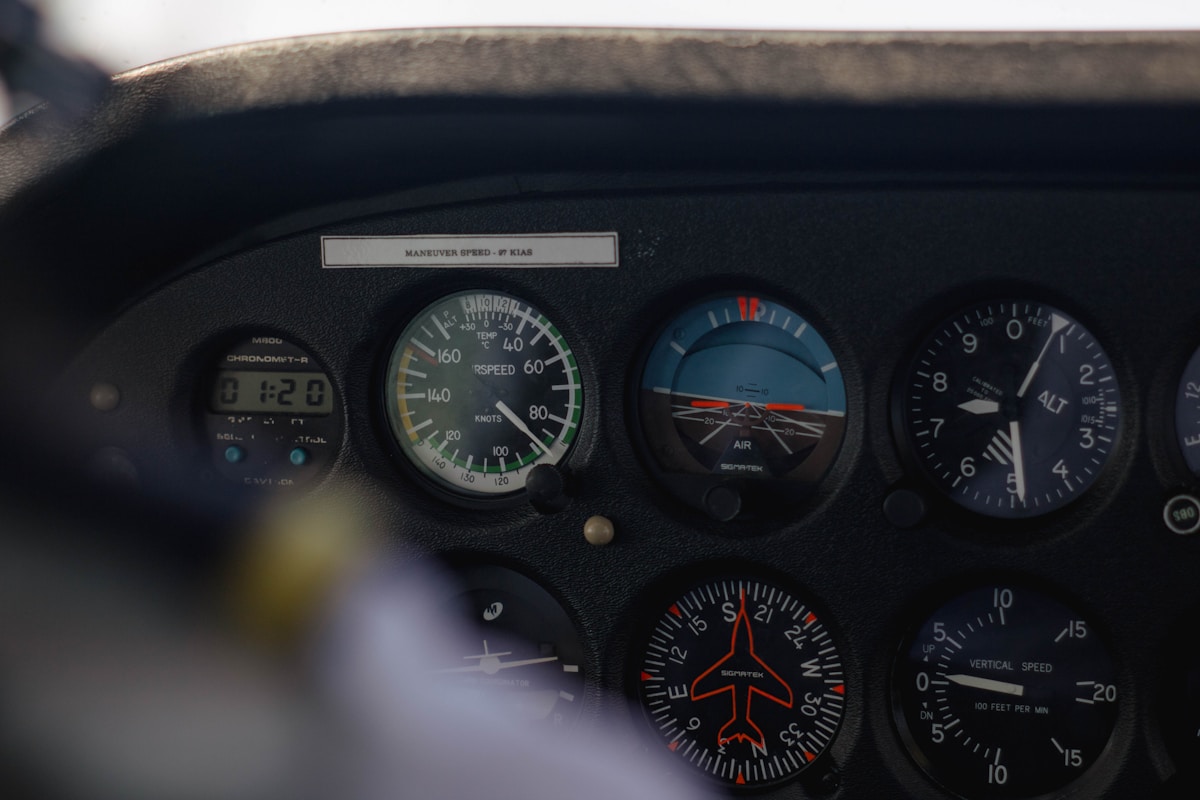
Performance Calculations
Every cross-country requires performance calculations specific to that day’s conditions. Use your aircraft’s POH and actual weather data to determine:
Fuel Requirements
Calculate fuel burn for each leg plus taxi, climb, cruise, and approach phases. Add regulatory reserves (30 minutes VFR day, 45 minutes VFR night) plus a personal cushion. Compare total required fuel to your usable fuel capacity.
Know where fuel is available along your route if your trip requires a fuel stop. Never depart with less fuel than your calculations require.
Takeoff and Landing Performance
Calculate takeoff distance required from your departure airport considering density altitude, wind, and runway surface. Do the same for landing distance at your destinations. Compare these numbers to available runway length with appropriate margins.
Cruise Performance
Determine cruise altitude and power setting based on winds aloft, terrain clearance requirements, and efficiency. Calculate true airspeed and groundspeed for your nav log timing estimates.
Flight Plan Filing
File a VFR flight plan for your cross-country. While not required for VFR flights, the flight plan activates search and rescue services if you fail to close it—a critical safety net for solo pilots flying unfamiliar routes.
File using 1800wxbrief.com, phone, or approved apps. Remember to open the flight plan (calling FSS or via app) after departure and close it upon arrival. Failure to close triggers search and rescue, wasting resources and causing significant hassle.

The Day Before
Complete your planning the day before, allowing time for review and questions. Confirm:
- Weather looks acceptable for tomorrow
- All calculations are complete and double-checked
- Navigation log and charts are prepared
- Your instructor has reviewed and endorsed the flight
- You have all required documents (pilot certificate, medical, photo ID, endorsements)
- The aircraft is available and airworthy
Get adequate rest the night before. Fatigue significantly impairs pilot performance, and a cross-country demands your full attention.
Morning of the Flight
On the day of your flight, recheck weather early. Conditions change, and what looked acceptable yesterday might not be acceptable today. If weather has deteriorated beyond your minimums, postpone the flight—there’s no shame in good aeronautical decision-making.
If weather is acceptable, eat a good breakfast and arrive at the airport with plenty of time for preflight preparation without rushing.
Preflight Procedures
Conduct a thorough preflight inspection with extra attention to details relevant for cross-country flight:
- Fuel quantity verified visually (not just gauges)
- Oil level within limits
- All lights working (especially position lights for potential late return)
- Pitot and static system clear
- Documents current and aboard
Brief yourself on the flight one more time: first leg course, initial altitude, first checkpoint and expected time, radio frequencies. Mental preparation complements physical preparation.
Departure
Open your VFR flight plan before takeoff (or immediately after, if easier). Depart normally and establish on course as trained.
Initial Cruise
Once established at cruise altitude on course, set power, lean the mixture appropriately, and begin your en route procedures:
- Time your first checkpoint
- Compare actual groundspeed to planned
- Verify you’re tracking the intended course
- Make initial adjustments if needed
En Route Monitoring
Throughout the flight, maintain active monitoring:
- Time each checkpoint and compare to planned
- Verify position using pilotage and GPS cross-check
- Monitor fuel consumption
- Watch weather conditions ahead
- Maintain situational awareness of position relative to airports for diversion
If anything doesn’t match expectations, investigate promptly. Small errors caught early remain small; ignored errors compound into big problems.
Handling the Unexpected
Cross-country flights rarely proceed exactly as planned. Expect variations and adapt:
Weather Changes
If weather deteriorates, you have options: divert to an alternate airport, turn around to better conditions, or land at the nearest suitable airport and wait. Never try to push through deteriorating weather—that kills pilots.
Navigation Uncertainty
If you become uncertain of position, don’t panic. Climb for better visibility if safe. Identify prominent features and correlate with your chart. Request flight following from ATC—they can provide radar vectors and position information. In the worst case, declare an emergency and controllers will help you.
Aircraft Issues
Any mechanical issue on a cross-country demands conservative decision-making. If something doesn’t seem right, land at the nearest suitable airport and investigate. Never continue a flight in an aircraft you’re uncertain about.
Arrival and Ground Procedures
Before reaching your destination, begin your arrival preparation:
- Obtain current ATIS/AWOS/ASOS
- Plan your entry to the traffic pattern
- Review airport diagram for runway and taxiway layout
- Brief yourself on the landing (winds, runway, expected challenges)
Make appropriate radio calls at non-towered fields or contact tower at towered fields. Fly the pattern as trained, make a safe landing, and taxi clear.
At Each Stop
After parking:
- Record your arrival time and fuel remaining
- Get updated weather for remaining legs
- Check for any new NOTAMs or TFRs
- Review next leg’s plan
- Refuel if needed
- Use facilities—you’ll fly better rested and comfortable
Return Flight Considerations
Your return leg requires the same diligence as outbound. Don’t get complacent because you’re heading home. Check weather, review the route, and fly with the same discipline that got you there safely.
Monitor fuel especially carefully on the return—ensure you land with adequate reserves despite any headwind or delays encountered.
Post-Flight
After landing at your home airport:
- Close your VFR flight plan immediately
- Secure the aircraft
- Complete your logbook entry
- Debrief the flight (mentally or with your instructor if available)
Note what went well and what could improve. Every cross-country builds experience that makes the next one better.
Building on Success
Your first solo cross-country is just the beginning. Each subsequent flight builds skills and confidence. Vary your destinations, practice in different weather conditions (within your limits), and gradually expand your capabilities.
The discipline developed in thorough cross-country planning and execution applies to every flight you’ll make throughout your flying career. Develop good habits now, and they’ll serve you well as a pilot forever.